How to Install Decorative White Pebbles
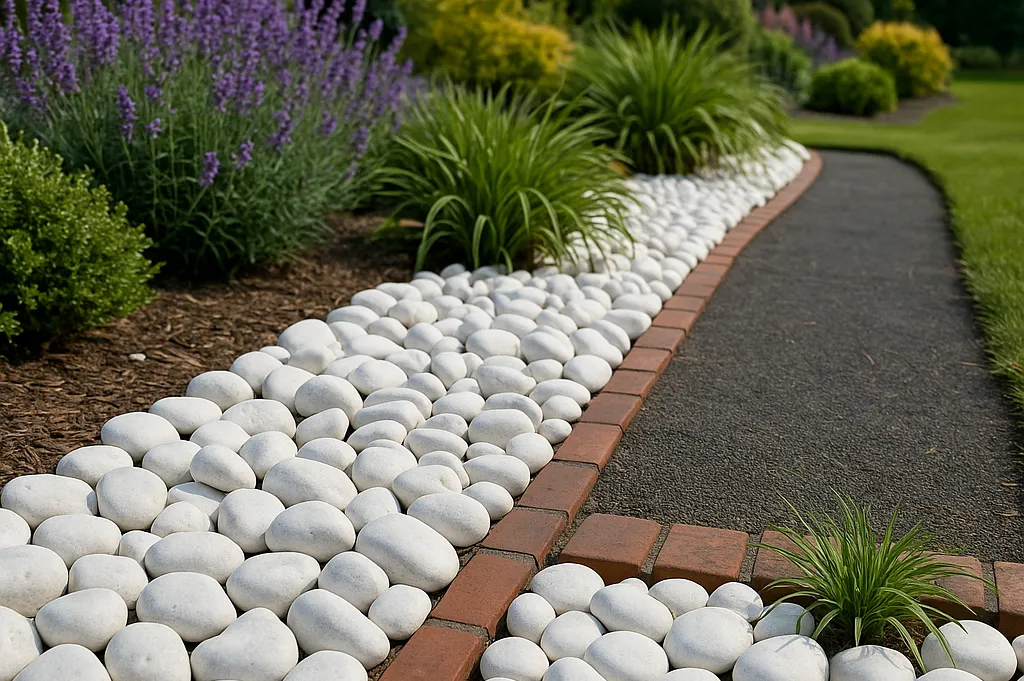
White stones have a way of elevating spaces with a simplicity that feels both natural and intentional. Unlike traditional mulch, they stay bright season after season, resist weathering, and require no ongoing upkeep.
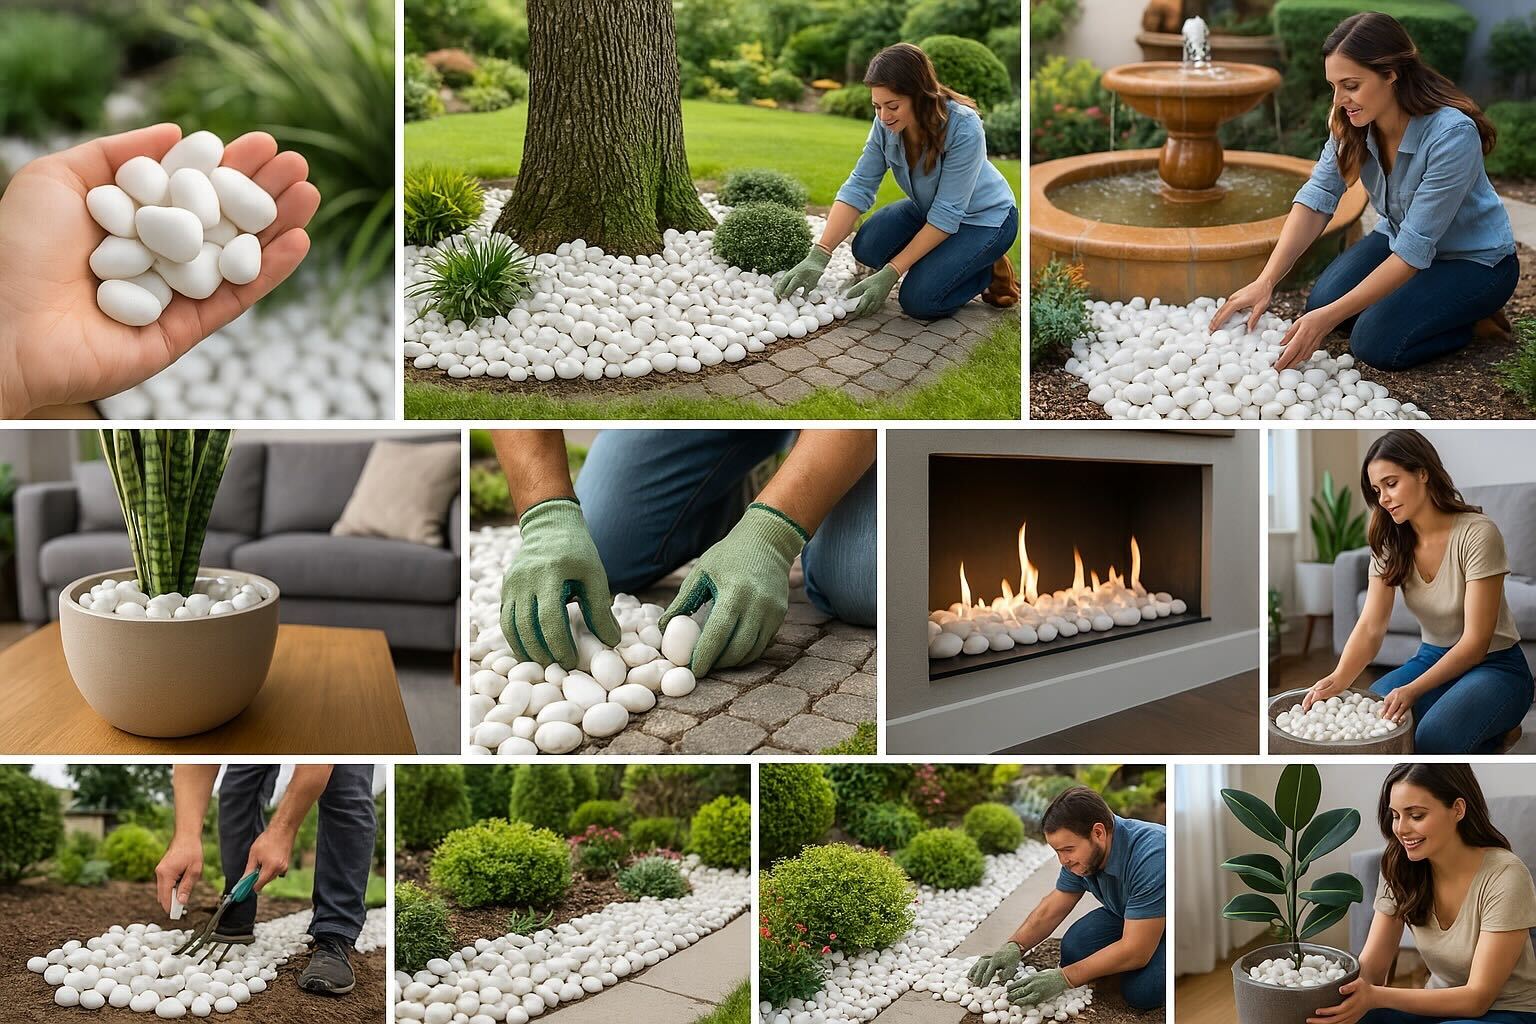
This guide is designed to help you install white pebbles easily and confidently. From preparing the ground to arranging the final details, each step brings you closer to a space that feels clear, polished, and enduringly beautiful.

Step 1: Prepare Your Canvas
A lasting installation begins with a clean foundation. Take time to clear and level the area where you plan to place your white pebbles.
Start by removing any existing mulch, weeds, grass, or debris. Use a rake to smooth out the surface, ensuring it is even and compacted. This preparation helps your stones sit neatly and prevents uneven settling over time.
A well-prepared base doesn’t just look better—it keeps your installation low-maintenance for years to come.

Step 2: Lay the White Tarp
Once your ground is cleared and level, it’s time to create a base layer that keeps your stones pristine.
Use a white tarp—not black or colored—to cover the entire prepared area. A white tarp serves two important purposes: it prevents weeds from emerging and creates a seamless backdrop that enhances the bright tone of your pebbles.
Unroll the tarp, aligning edges and corners carefully so it sits flat against the soil. If needed, trim any excess material for a clean fit. This simple step helps your white stones maintain their pure, uninterrupted appearance.

Step 3: Choose and Spread Your Pebbles
With your base in place, you’re ready to bring your vision to life. Selecting the right stone size sets the tone for the entire space. For example, these are our white pebble sizes and the best places to use them:
Sierra (1–2 inches): Ideal for indoor accents or smaller areas that call for a refined, polished look.
Malibu (2–3 inches): A versatile option suited to most landscaping designs, from garden paths to patio borders.
Laguna (3–5 inches): Perfect for creating bold statements around trees or in expansive outdoor installations.
Pour the stones gently over the tarp, taking care to distribute them evenly. As you spread them, avoid stepping on the pebbles with dirty shoes—keeping their natural white color intact is part of their enduring appeal.
Remember, one ton of pebbles will cover approximately 100 square feet when layered thoughtfully.

Step 4: Refine and Align
With your pebbles in place, take a few moments to shape the final look.
Use your hands or a rake to adjust and smooth the stones. Pay extra attention to the edges and corners—neat lines create a sense of calm and intention.
As you spread the pebbles, layer them wisely. Aim for an even coverage that fills the space without unnecessary stacking. This approach not only makes the most of each stone but also keeps the surface looking clean and balanced.
When finished, step back and notice how the white pebbles bring clarity and quiet beauty to your space.

The Effortless Beauty of White Pebble Wonders
Once your stones are in place, there’s nothing more you need to do. No watering. No yearly mulch replacement. No mess.
Our white pebbles offer a lasting alternative to organic ground covers such as mulch, maintaining their clean, natural elegance through every season. With just a few steps, you’ve created a space that feels refined and complete—whether it’s a peaceful garden path, a sculptural accent around trees, or a welcoming entryway.
Sometimes, the most beautiful transformations are the simplest to achieve!
Frequently Asked Questions
Do I need to install edging around my stones?
While edging isn’t required, it helps keep your pebbles neatly contained, especially in high-traffic areas or spaces with frequent rain. Metal, stone, or composite edging can create a clean line that complements your design.
Will the white tarp show through the stones?
When spread correctly, the tarp remains hidden beneath the pebbles. Be sure to lay an even layer, gently adjusting as needed so no edges are visible.
Can I mix different sizes of pebbles together?
Yes—mixing sizes can create a more organic, textured look. Many designers blend two adjacent sizes (like Sierra and Malibu) to soften transitions and add visual depth.
How do I clean the stones over time?
Most of the time, rain naturally rinses dust and debris away. For additional cleaning, you can hose down the stones or gently sweep them with a soft broom. Avoid using high-pressure washers, as they may disturb the tarp or scatter the pebbles.
Will weeds eventually grow through?
Tarps provide strong weed prevention. Occasionally, airborne seeds may sprout on top of the stones. Simply remove them by hand or with a gentle rake to keep your surface clear.
Can I walk on the pebbles?
You can, though it’s best to avoid walking on them with dirty shoes, as this can transfer soil and dull their brightness.
How long will my installation last?
With minimal care, white pebbles maintain their beauty for many years. Unlike organic mulch, they won’t decompose, fade, or compact over time.
If you have questions specific to your project, we’re here to help. Simply reach out to our team, and we’ll be glad to guide you.

Your Next Chapter in Design
As you step back and admire your finished installation, notice how a single material can soften edges, highlight architecture, and create a sense of calm that lasts.
If you’d like to explore more ways to use pure white pebbles in your next project, discover our inspiration gallery. Your space is ready to become something quietly remarkable.